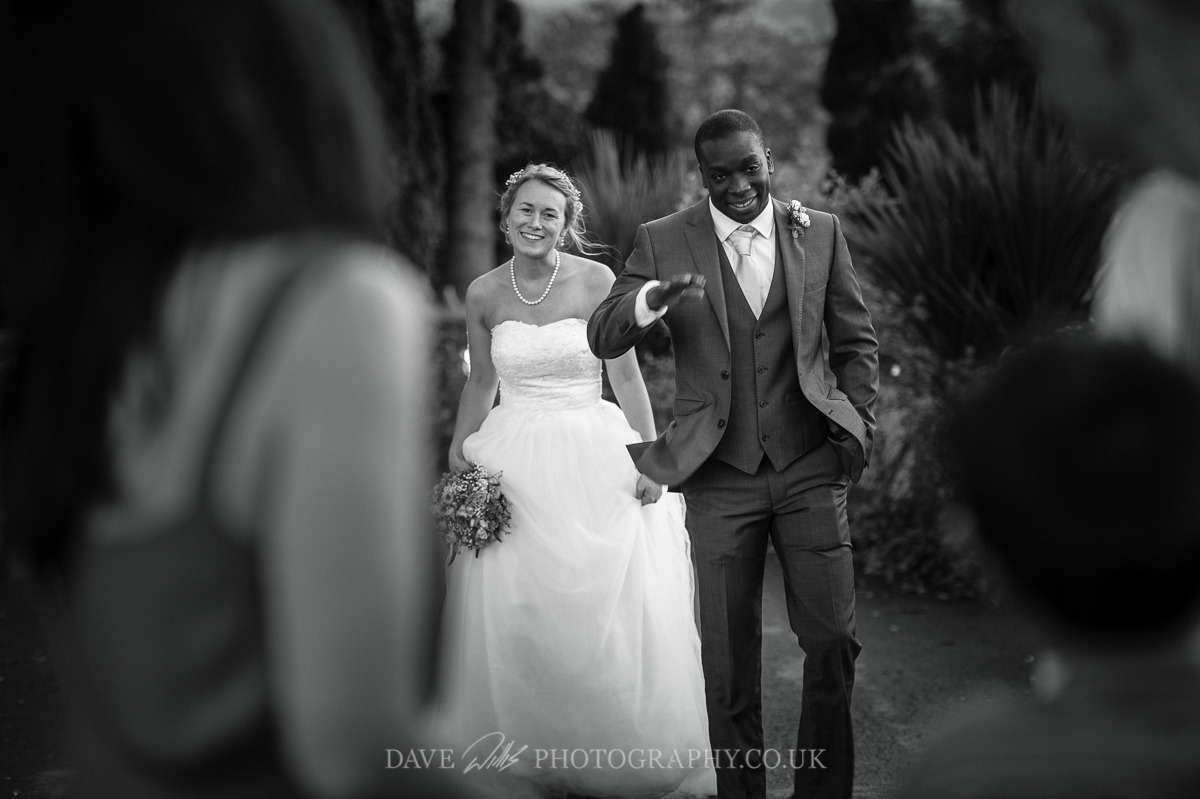
Handmade Wedding Dress
Personally I think we put too much pressure on brides to be perfect. I’m not one of those perfect people. I feel uncomfortable in heels and self conscious in dresses. I just knew my wedding dress had to be white/ivory, I wanted to be able to move in it, and for it not to cost too much…after all, I was only going to wear it for about 8 hours of my life.
As someone who loves a good creative challenge I decided to undertake the dress making myself! I have sewn a handful of things in my life, however I would by no means class myself as an expert. I have always enjoy the process of creating with fabric and my mum says it’s in the blood (my great grandfather was a tailor apparently).
So, without a style in mind or a pattern to assist I went gun-hoe to the fabric shop. I bought a vast amount of light ivory fabrics and a cheap polystyrene form in size 10.
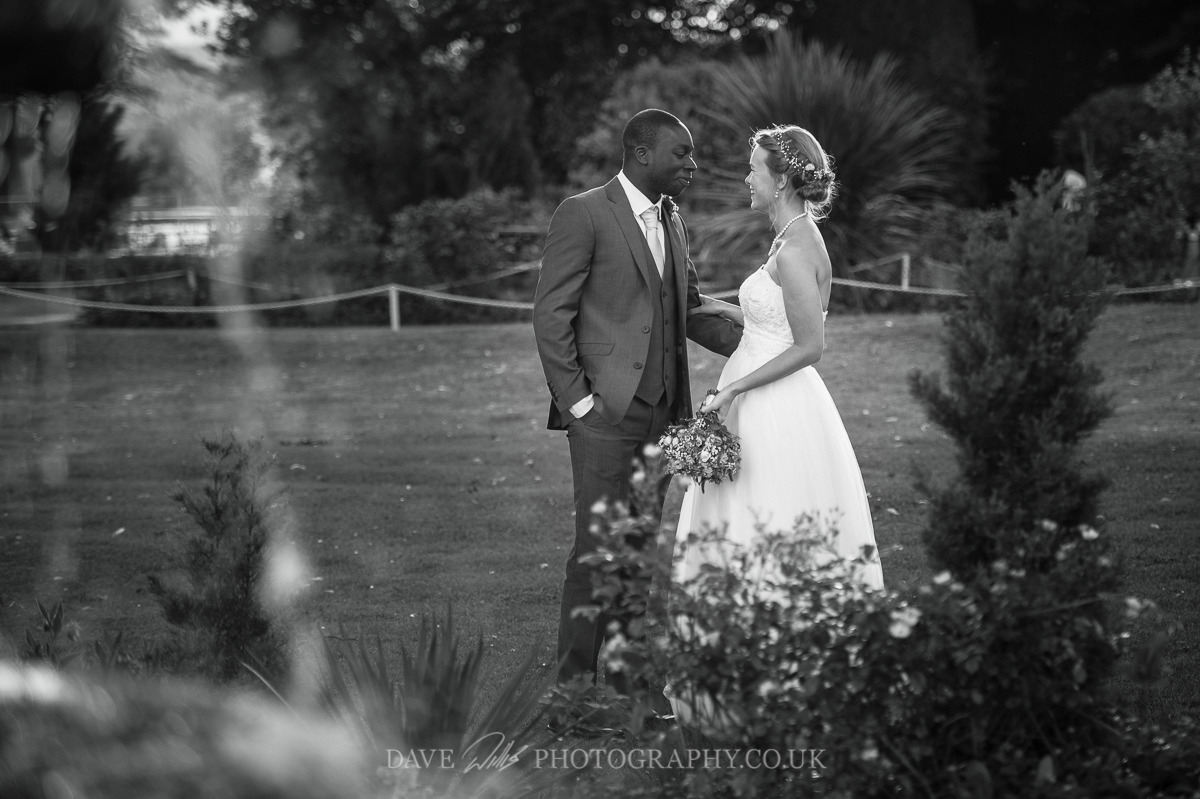
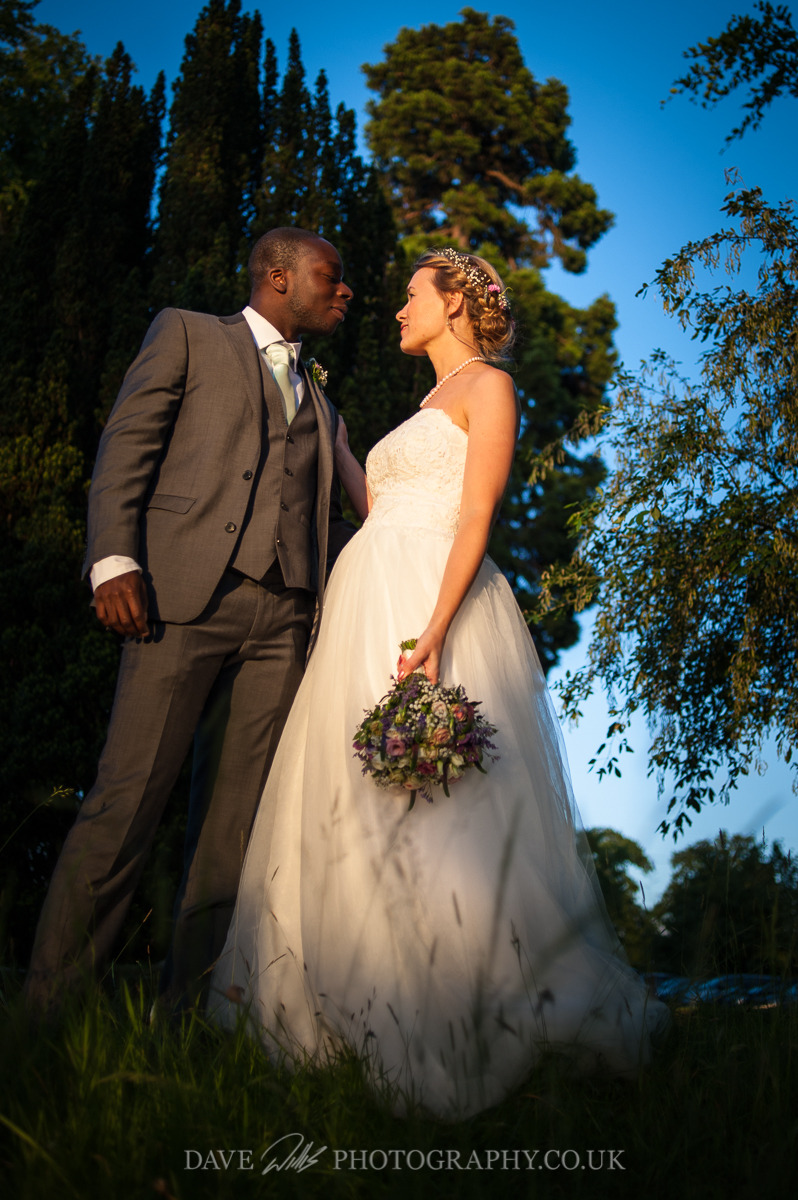
It is a very simple dress with personal hand made touches, and very much not perfect. But it fit me exactly and is white(ish), saved us hundreds of pounds and was really enjoyable to make.
In hindsight I should have taken good photos of the whole process. This post will just have to do with the handful of blurry pictures I took on my old cracked phone.
Here is my process:
I started making the skirt first. I wanted it to be big and in a princess style, so bought reams of light ivory tulle (which is a brilliant an inexpensive fabric to create volume with). I based the underskirt pattern on a big full skirt off a Vouge dress pattern which I got from amazon. The lining had a sheen on it so that the tulle would look extra magical on top. The tulle was fiddly to sew but didn’t need any hemming which was great. I set the stitch large and proceeded to sew skirt pieces together. It took 4 layers of these tulle skirts before I was happy with the size. It totally buried me for an evening.
I’m not a superstitious person so Ollie hung out with me and played PlayStation while I sewed away. It was so much fun to have his company. I love that we are happy to do our own personal projects or hobbies while still in one another’s company:)
The skirt with very baggy waist was then put on the form and synched in until it fit the model perfectly. I hand sewn this in place before running it through the machine. Skirt done, so far so good!
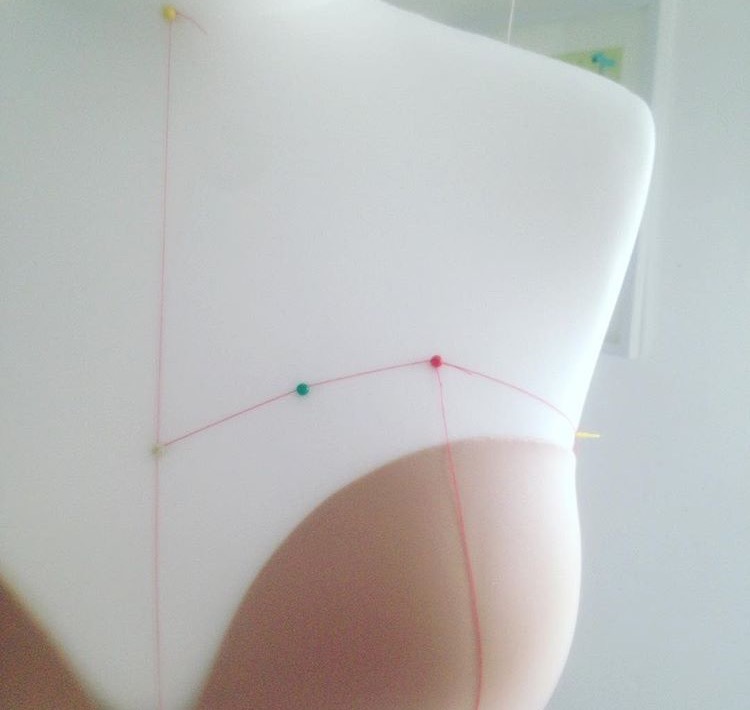
The bodice part was a little bit more of a challenge but fun! After watching an amazing YouTube tutorial on draping fabric and making your own bodice I decided I could figure it out!
The form was a lot smaller in the chest than myself so the solution was to buy the exact bra I would wear on my wedding day, stuff it out with fabric and work around that. I got a strapless wonder bra which fit perfectly and put it on the form. The draping process was so much fun and creative and as someone who loves working with my hands and particularly sculpture it came relatively easily. I thought I’d have to have several goes before it was right, however my first attempt at bodice building is the one I wore!
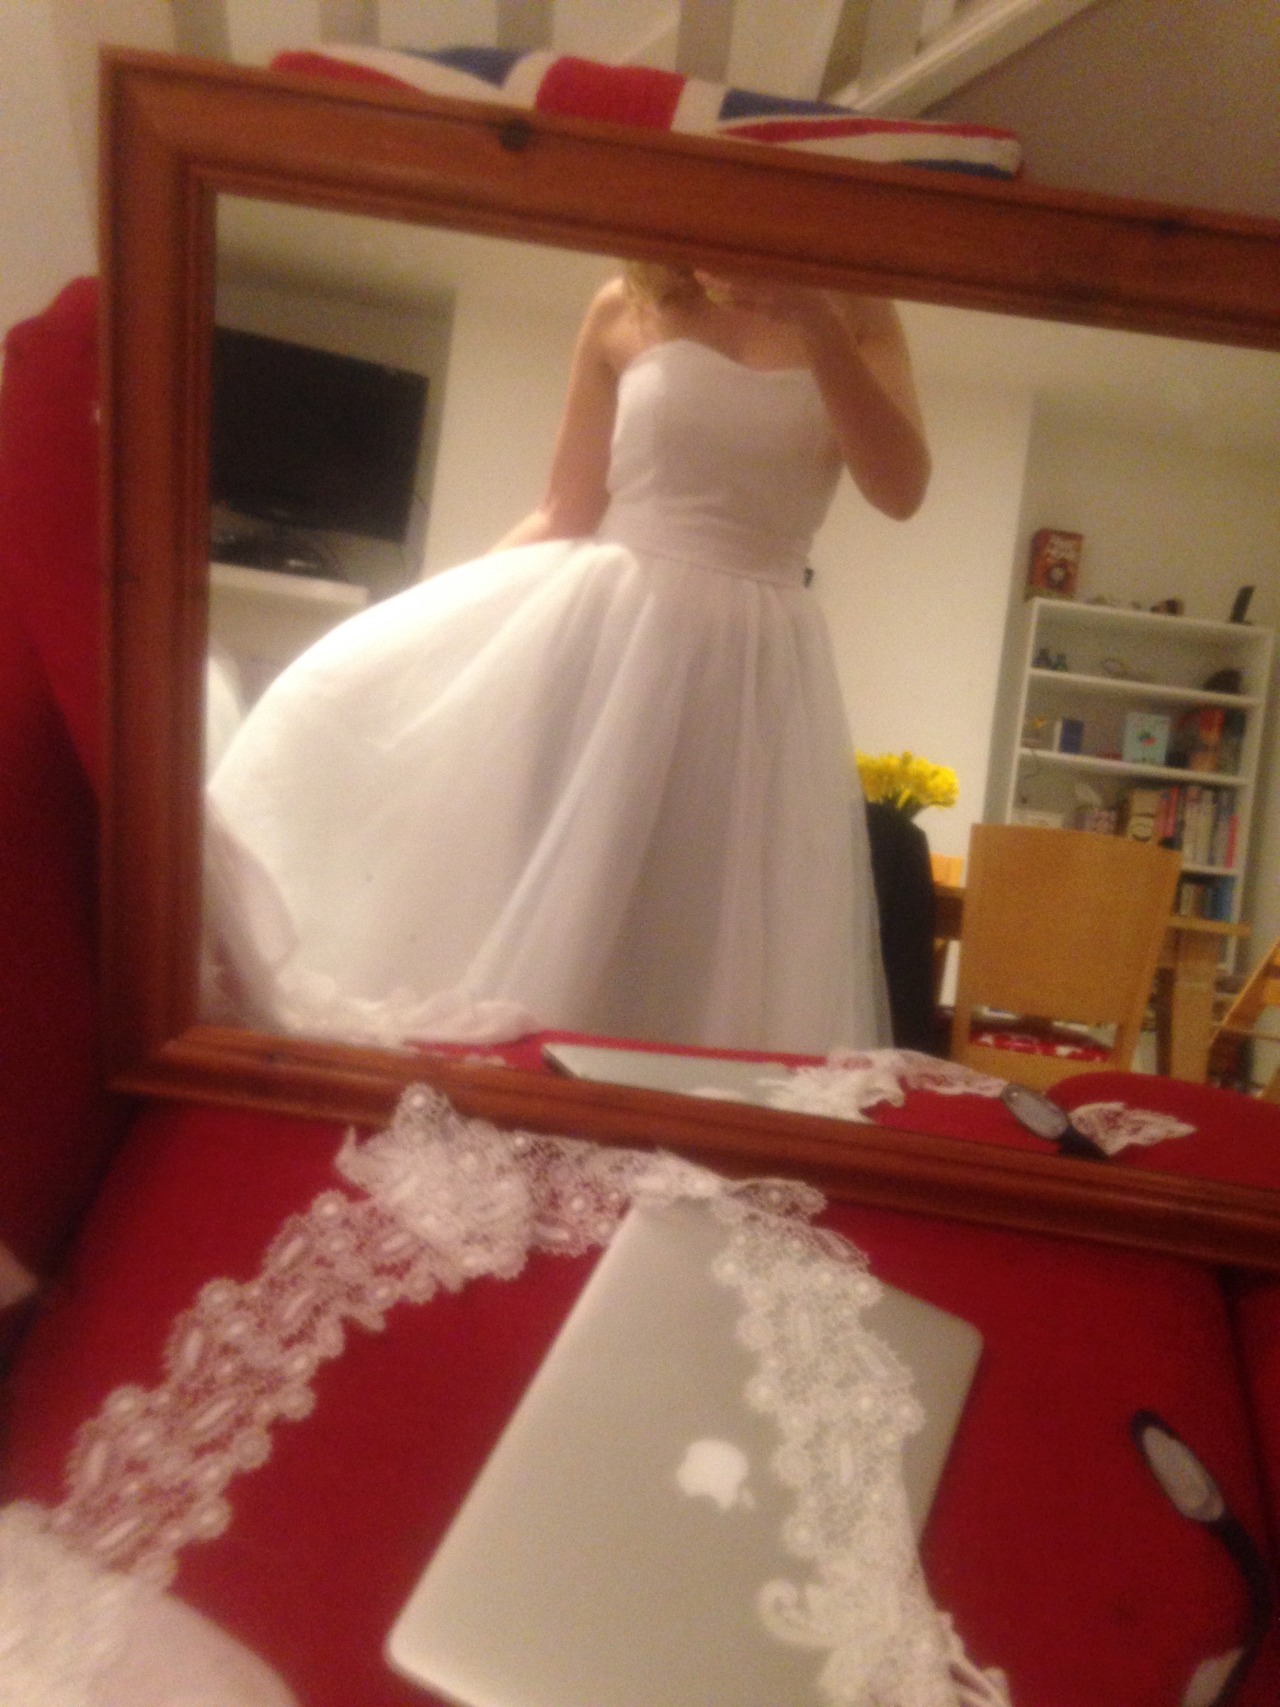
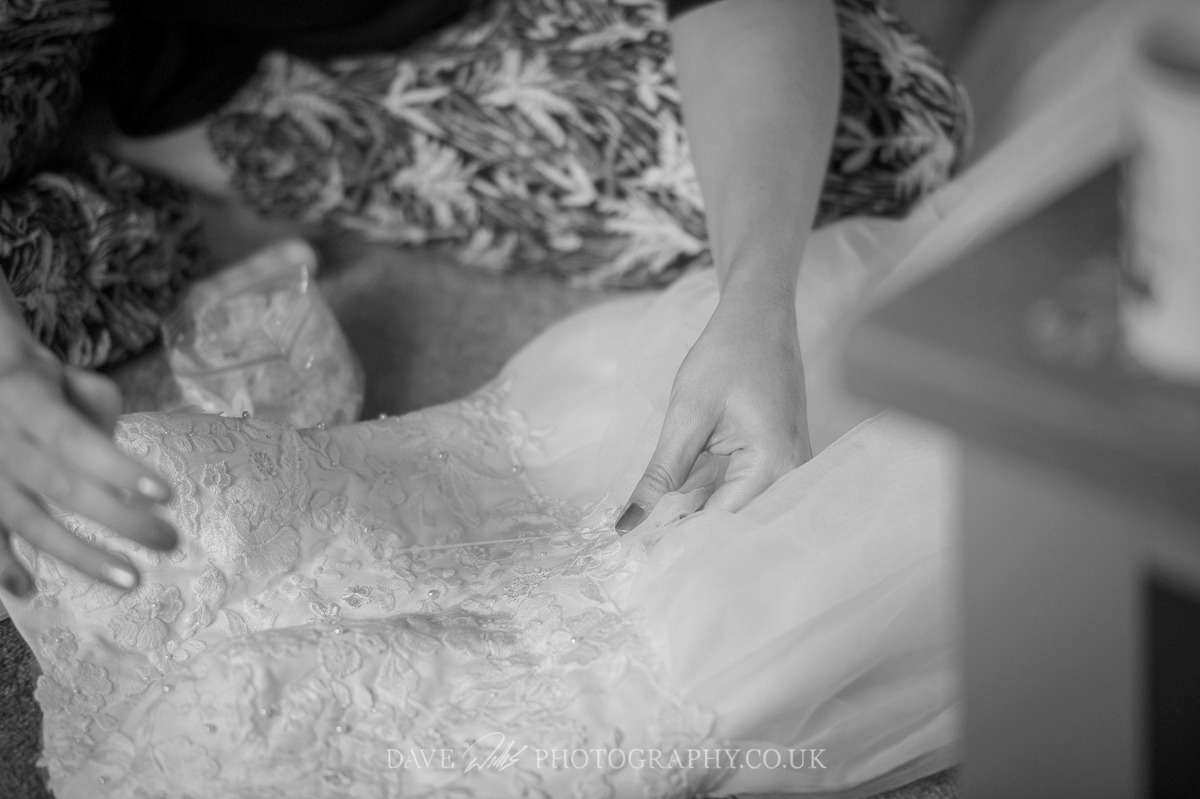
Queue my biggest error…. Fabric choices! due to the fact that I didn’t plan out the fabric buying very well I came to realise the fabric I made the bodice out of and the one for the skirt clashed, I was super unhappy with my blunder. This was a little bit of a set back. I was so happy however with the fit, and didn’t like the idea of remaking the bodice that I had to find a way around it. I decided to search online for light ivory lace embellishments and found just what I wanted in a most unlikely place, eBay! I ordered a bunch of individual pieces of lace for a couple of pounds each and they were perfect. So began the hand sewing! With the bodice and skirt attached I pinned the lace (which matched the skirt colour) all over the bodice. It was strategic and took a lot of thought choosing nice places for the lace. I tacked it all over then it was time for a trip home to wales.
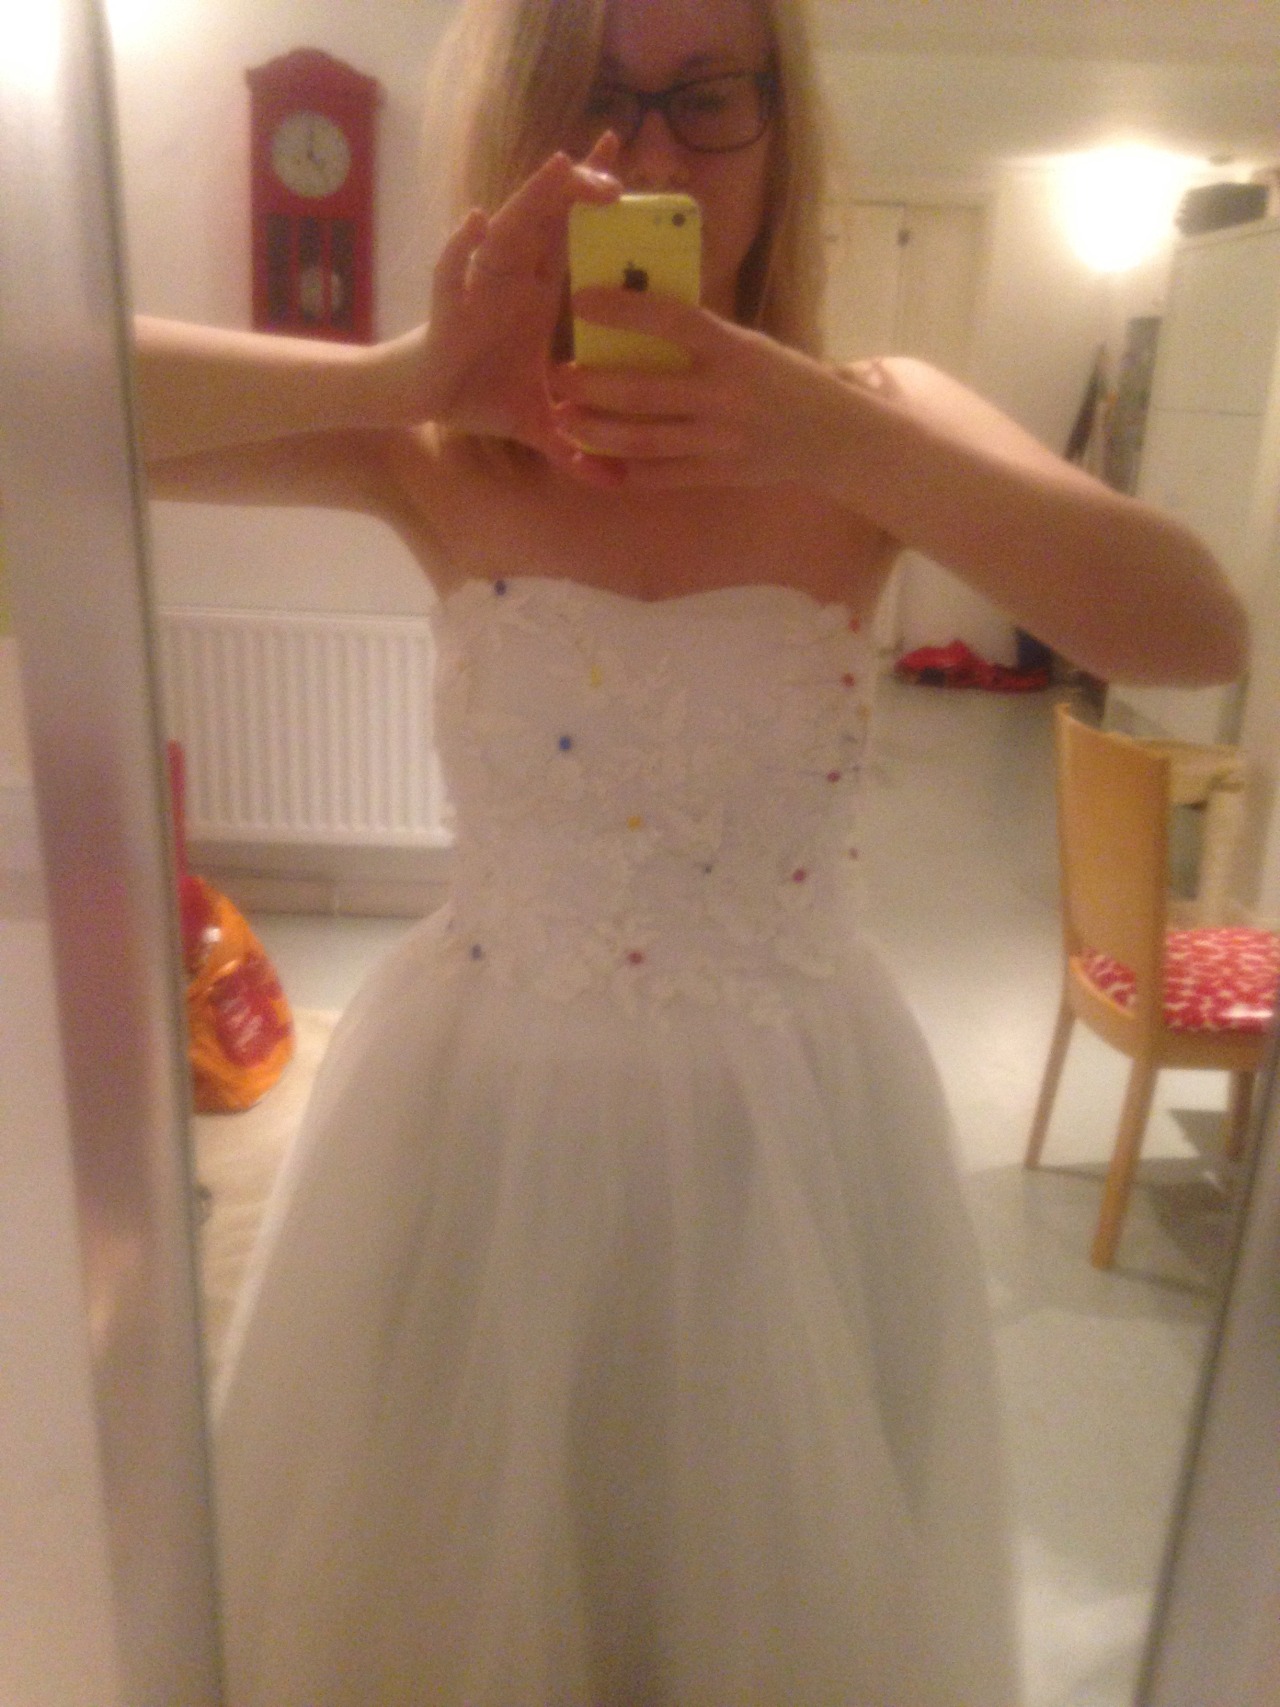
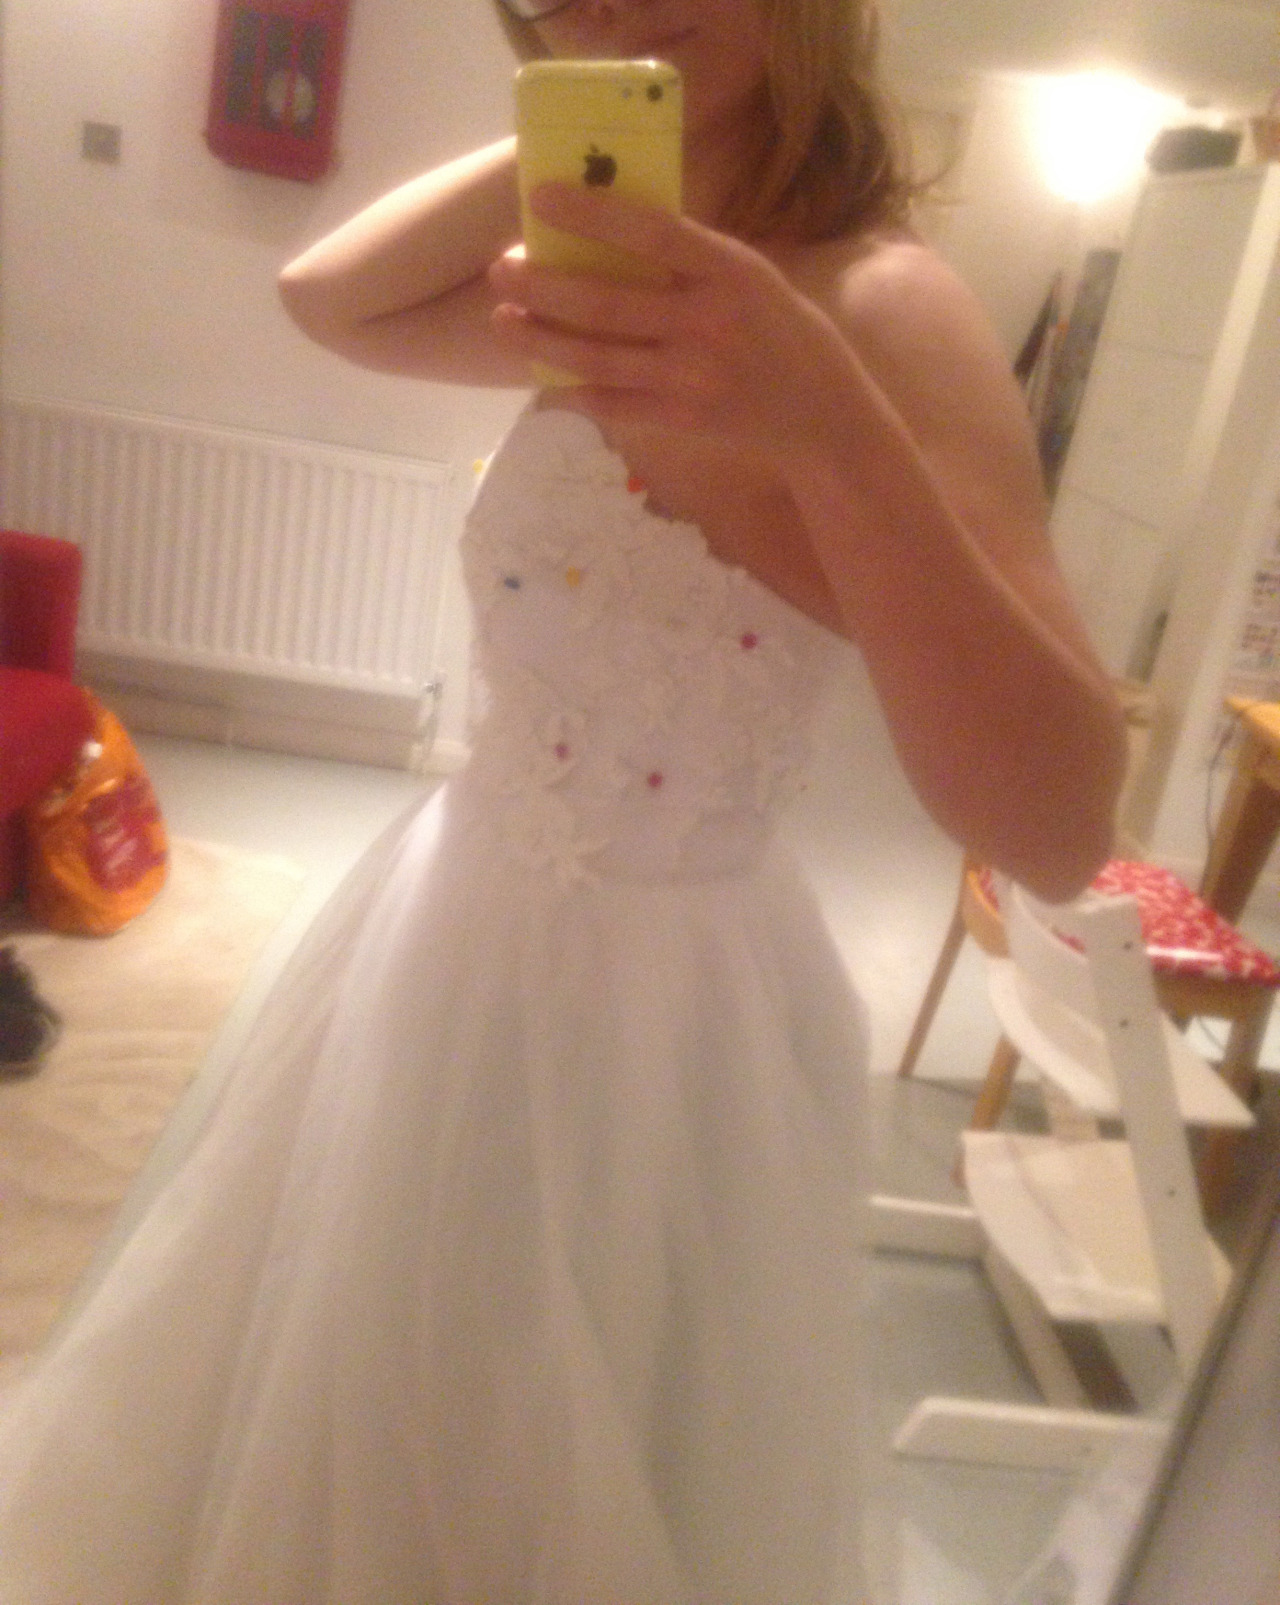
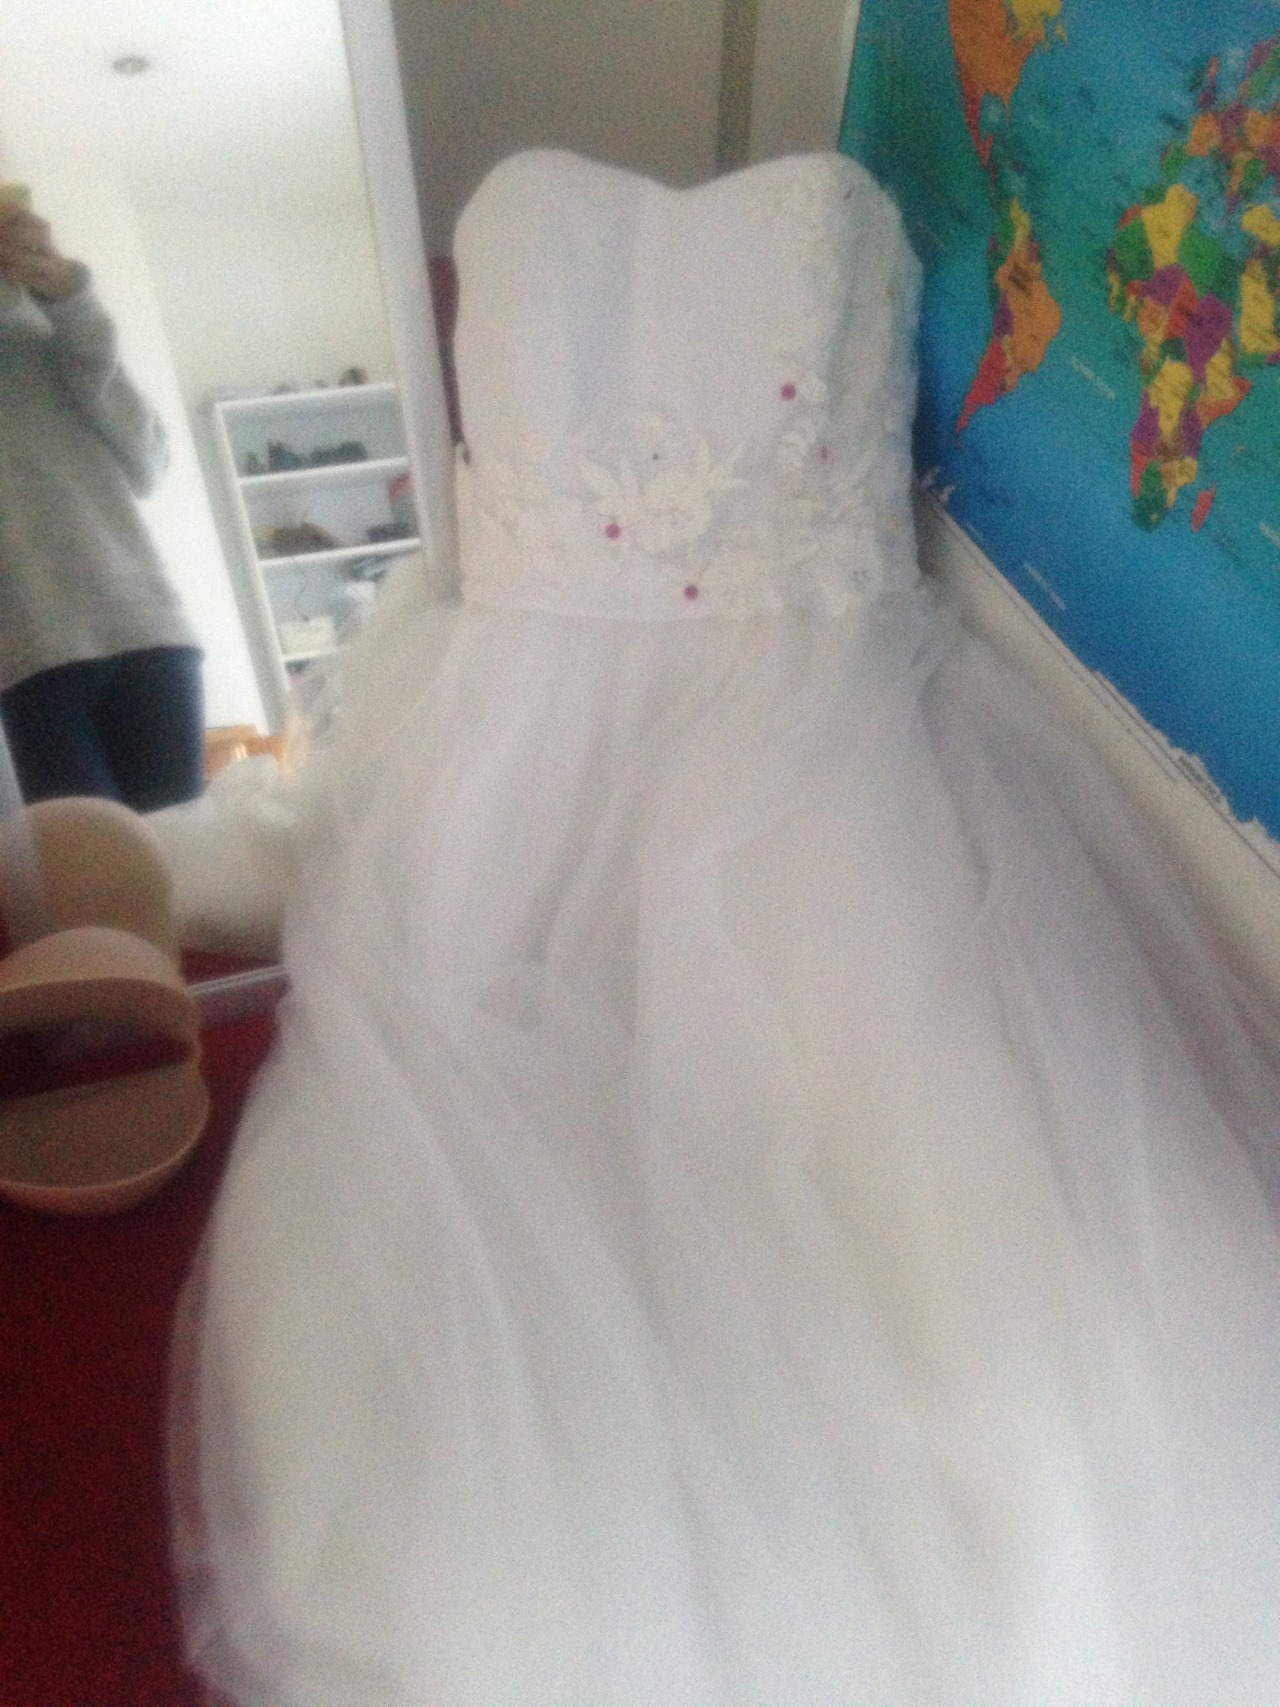
My lovey sister Lucy who also shares my joy for being creative was very kind and sat with me hunched over the dress for almost the best part of a whole day firmly attaching the lace to the bodice with small careful invisible stitches.
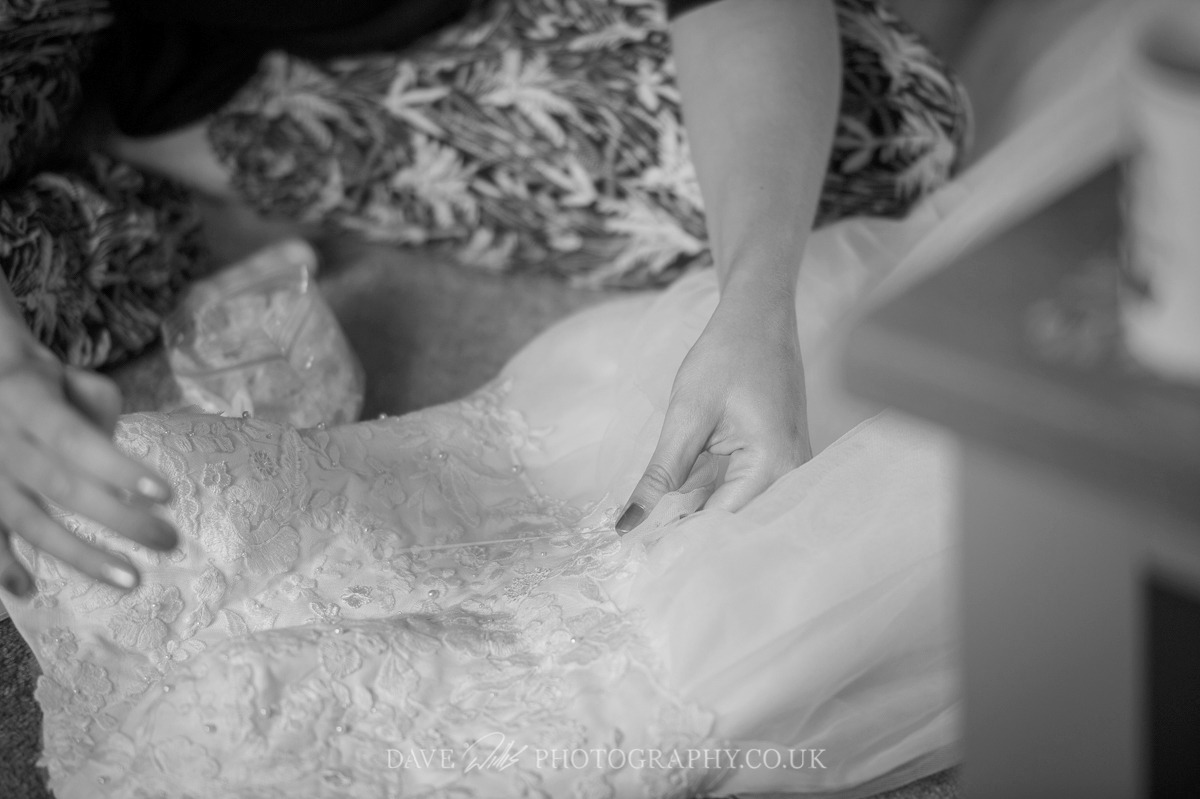
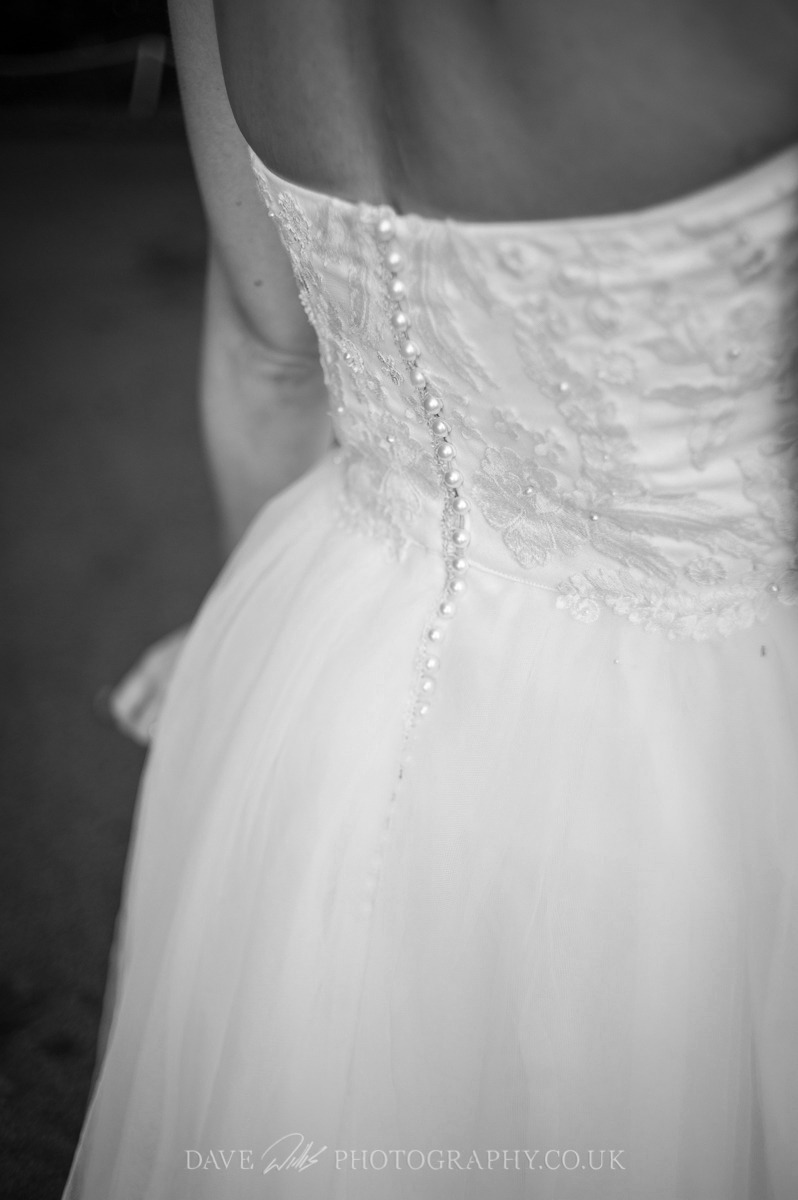
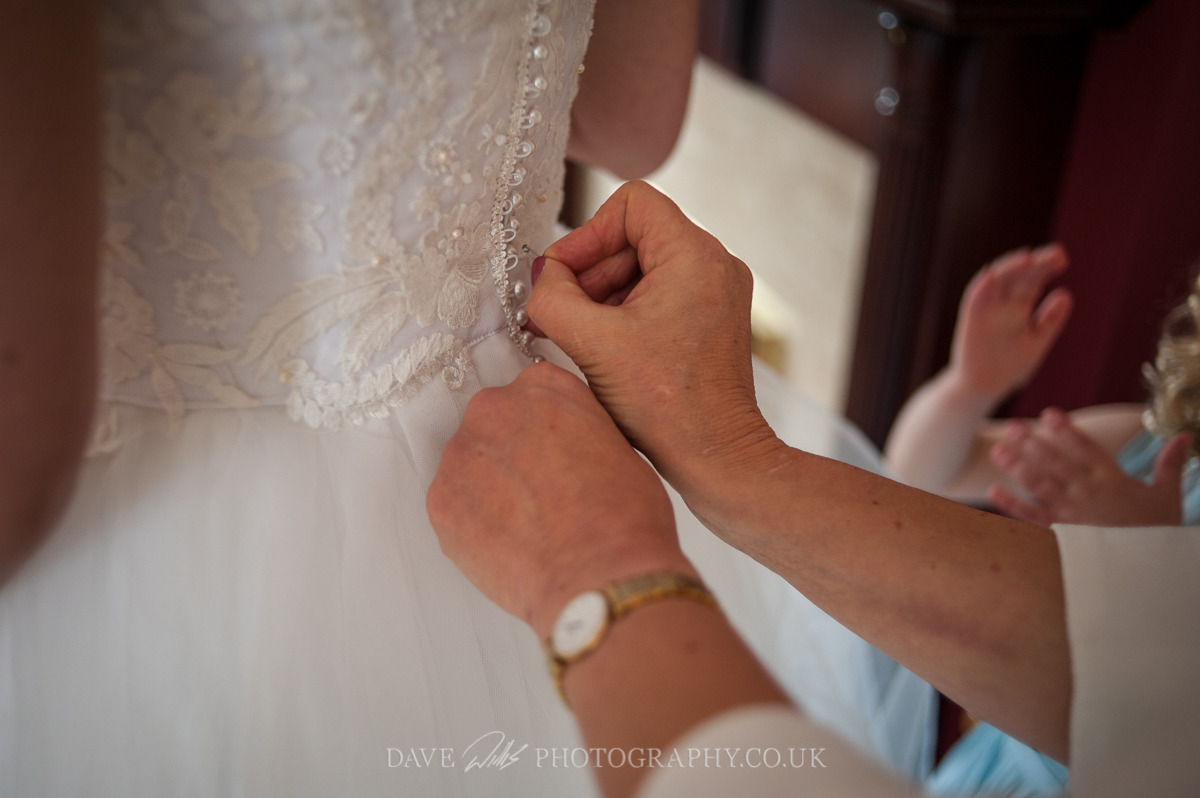
The back of the dress was a little bit of a puzzle. I hadn’t planned how to fasten the dress. I bought a really super long white zip and sewed it in place, however it was pretty ugly and took away from all the beautiful lace we sewed in place. So after a trip to the fabric shop I found a strip of button holes exactly for the purpose wedding dress backs! The buttons are fake half pearls and entirely covered the zip so it was invisible and appeared as if the dress was solely sealed up by the buttons… Bingo!
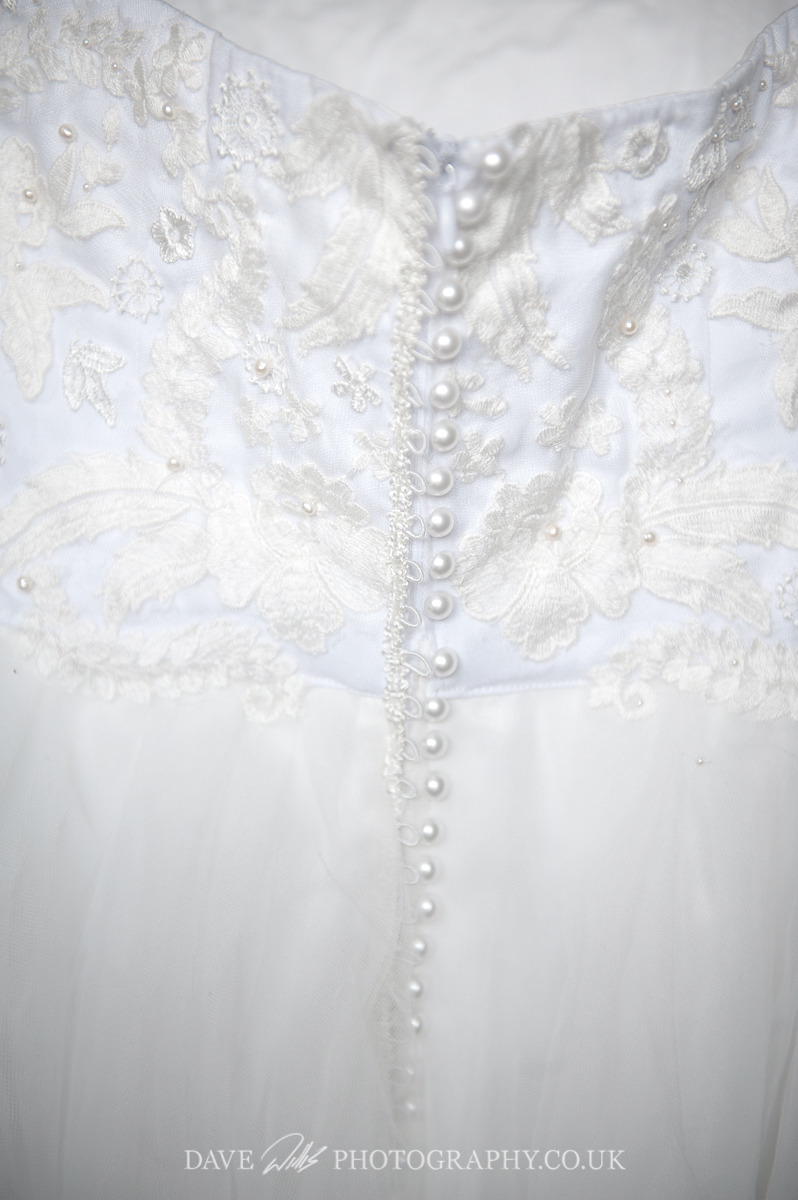
The finishing touch to my dress, which made me feel extra special was an old pearl necklace which my mum gave me. It was one she never wore and she kindly allowed me to break it and sew the tiny pearls across the lace bodice. It was supper fiddly and needed me to use the finest beading needles I could find, but it worked.
The dress wasn’t perfect. Looking back at it now in photos I do cringe a little at parts of it. It wasn’t my most prettiest of days. But I married the love of my life, we have had many more wonderful days since being married.
And VOILA, in a nutshell that is the story of how I made my wedding dress:)
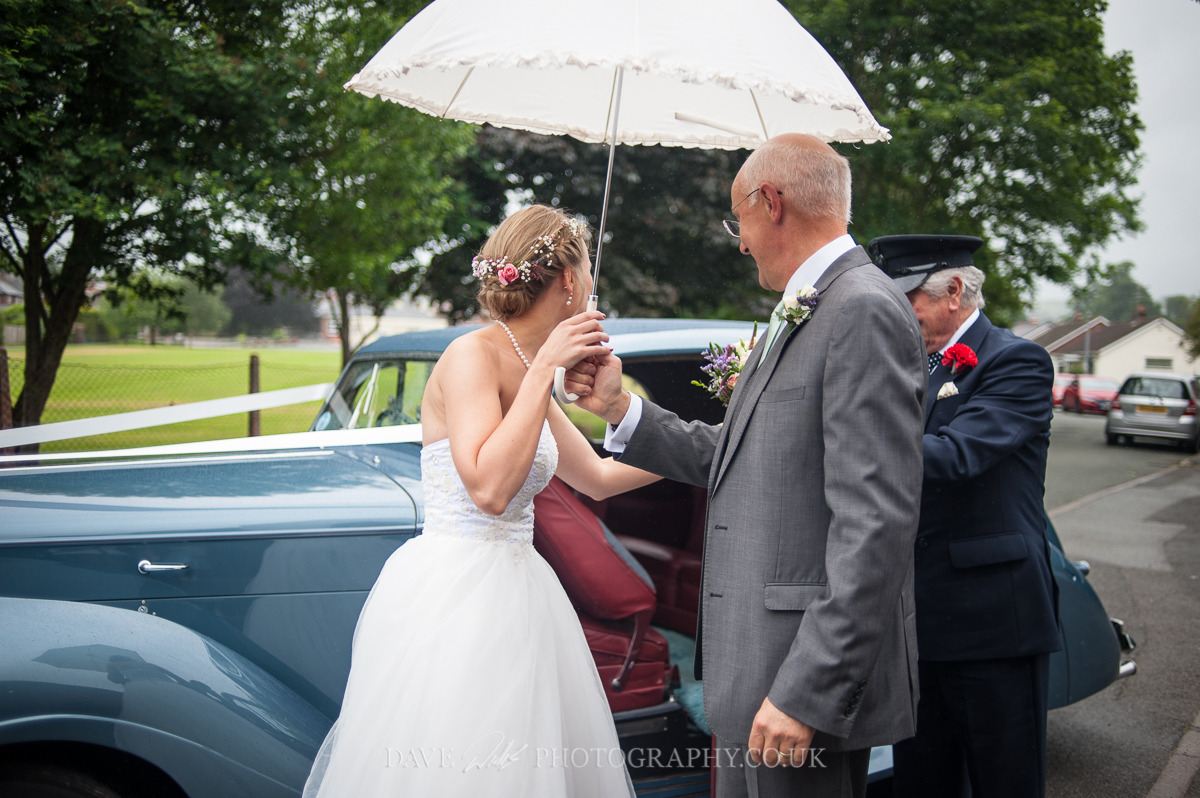
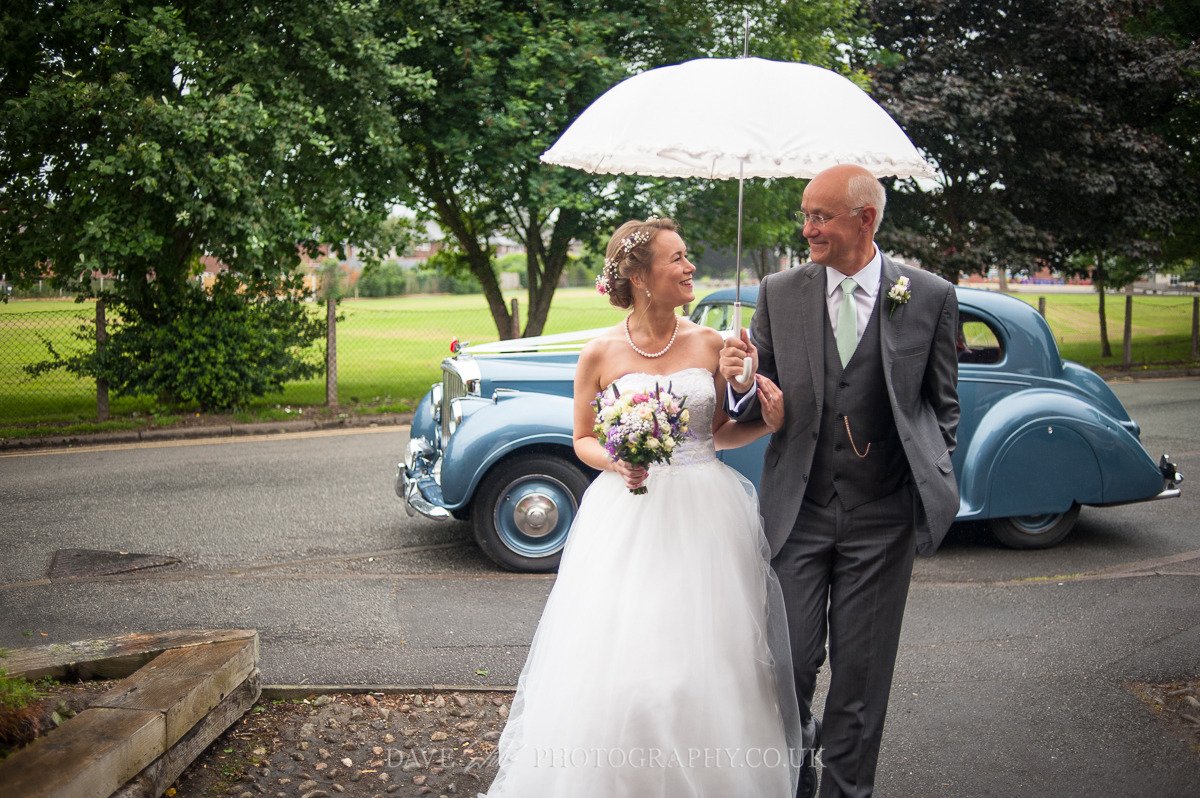
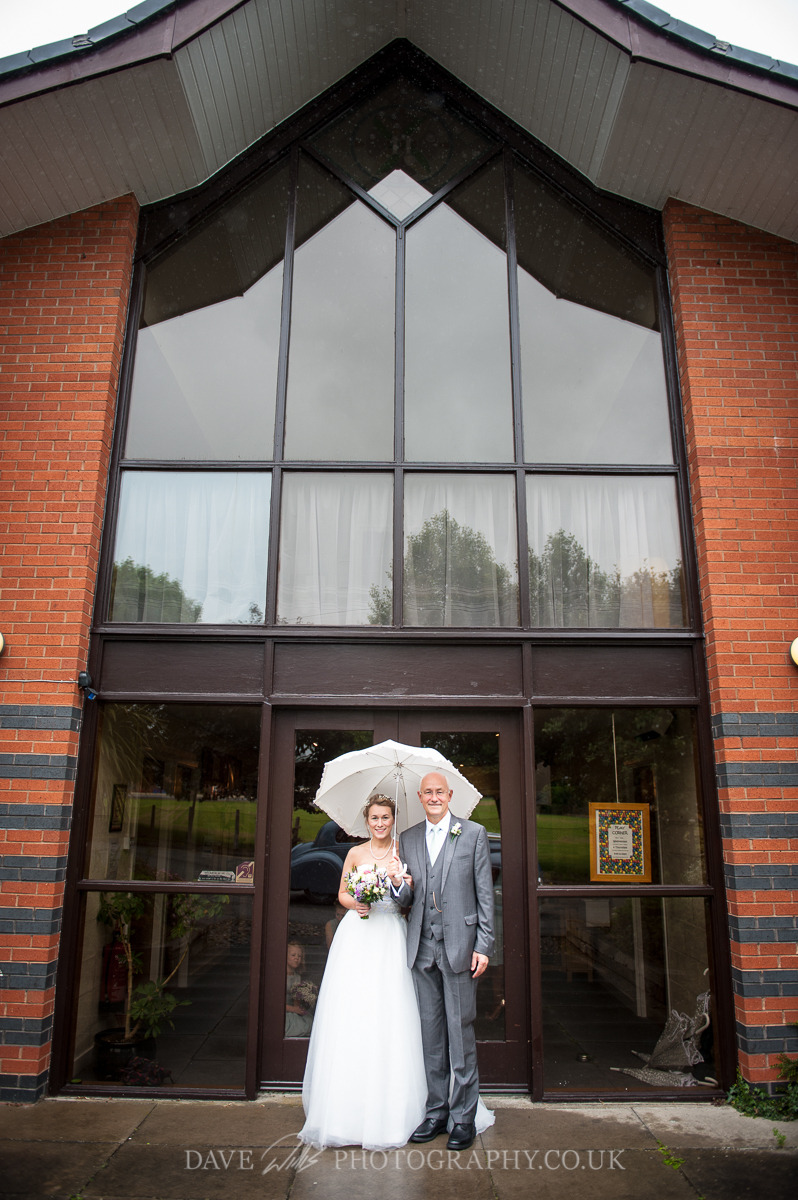
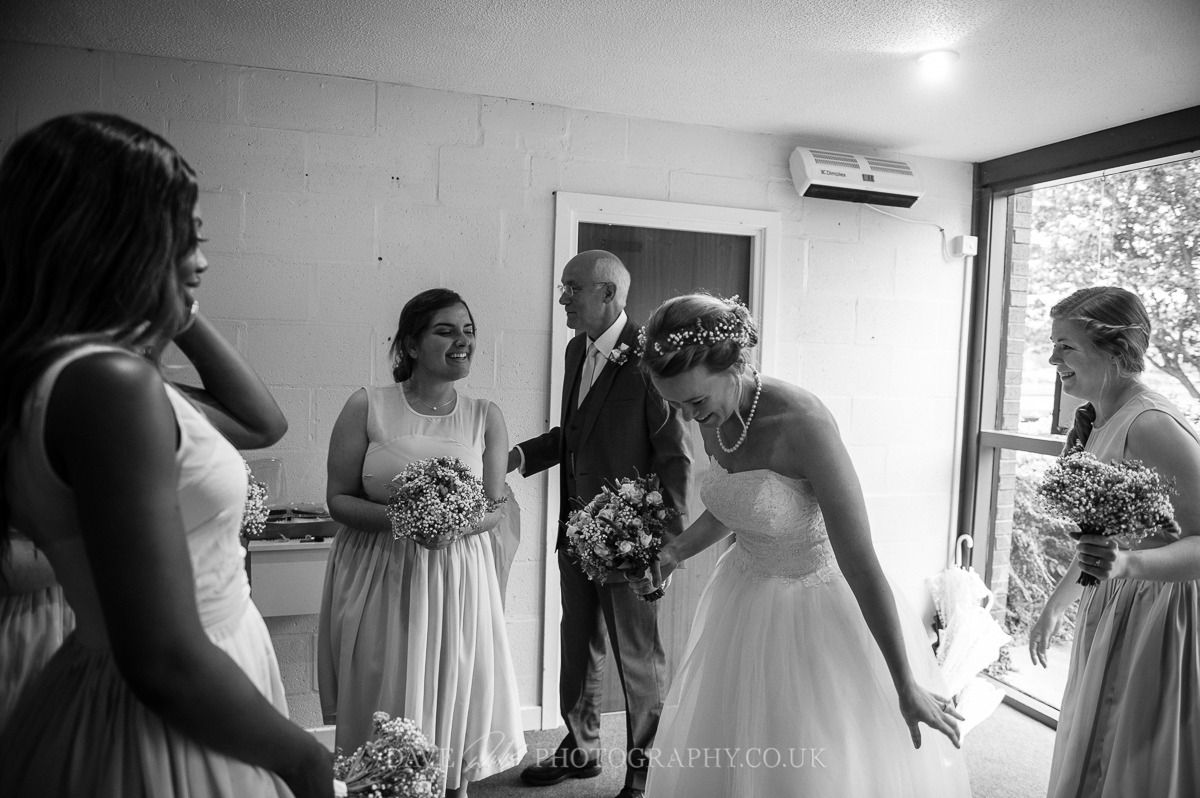
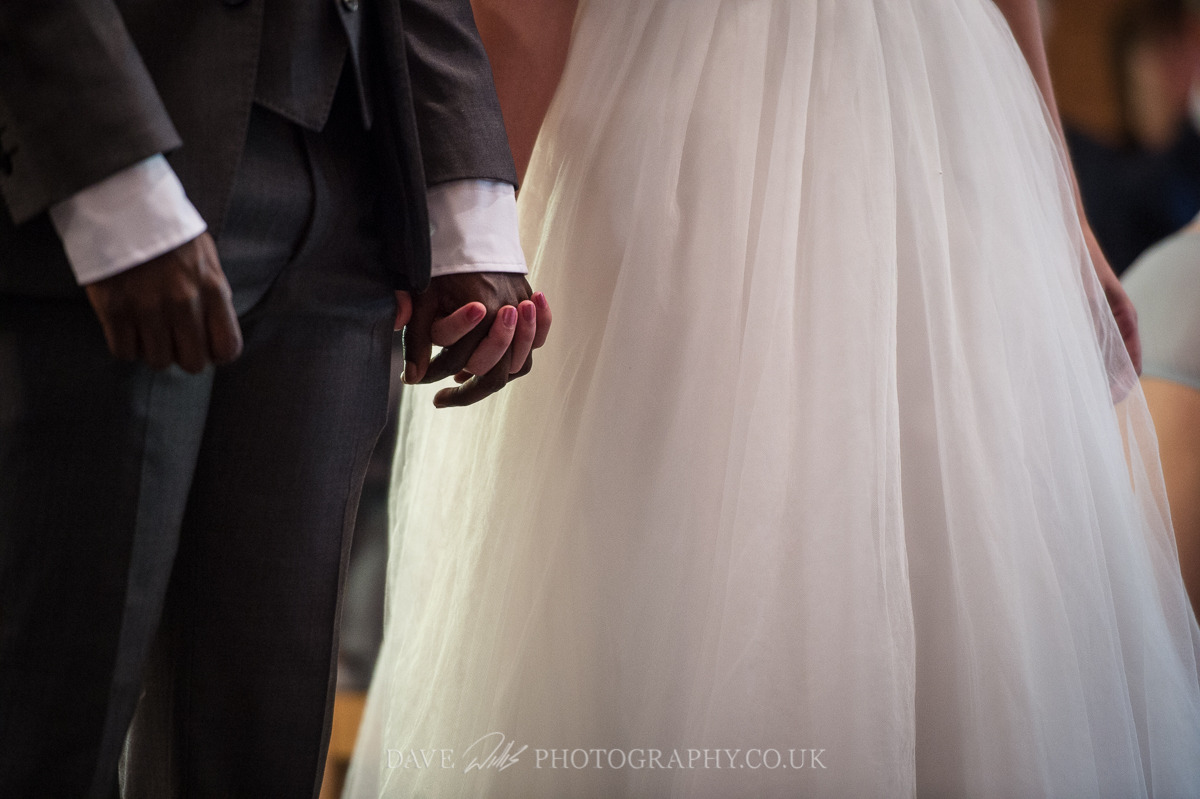
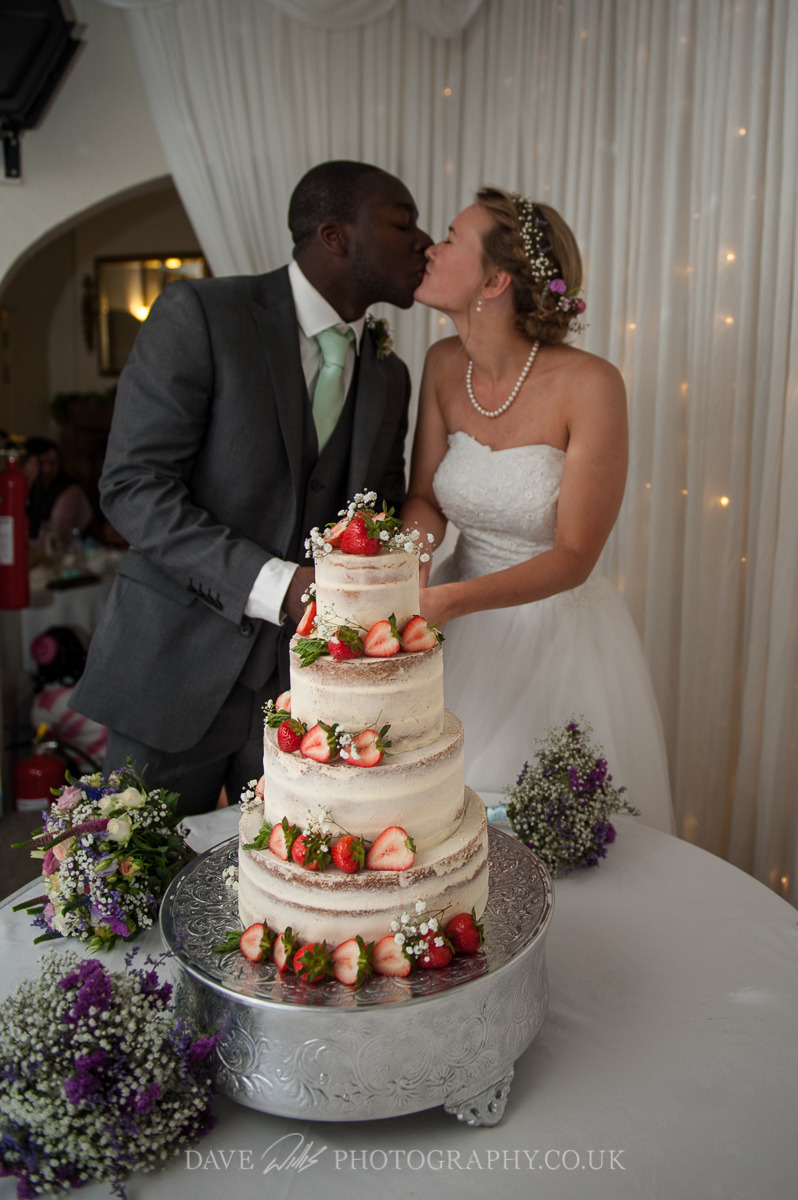
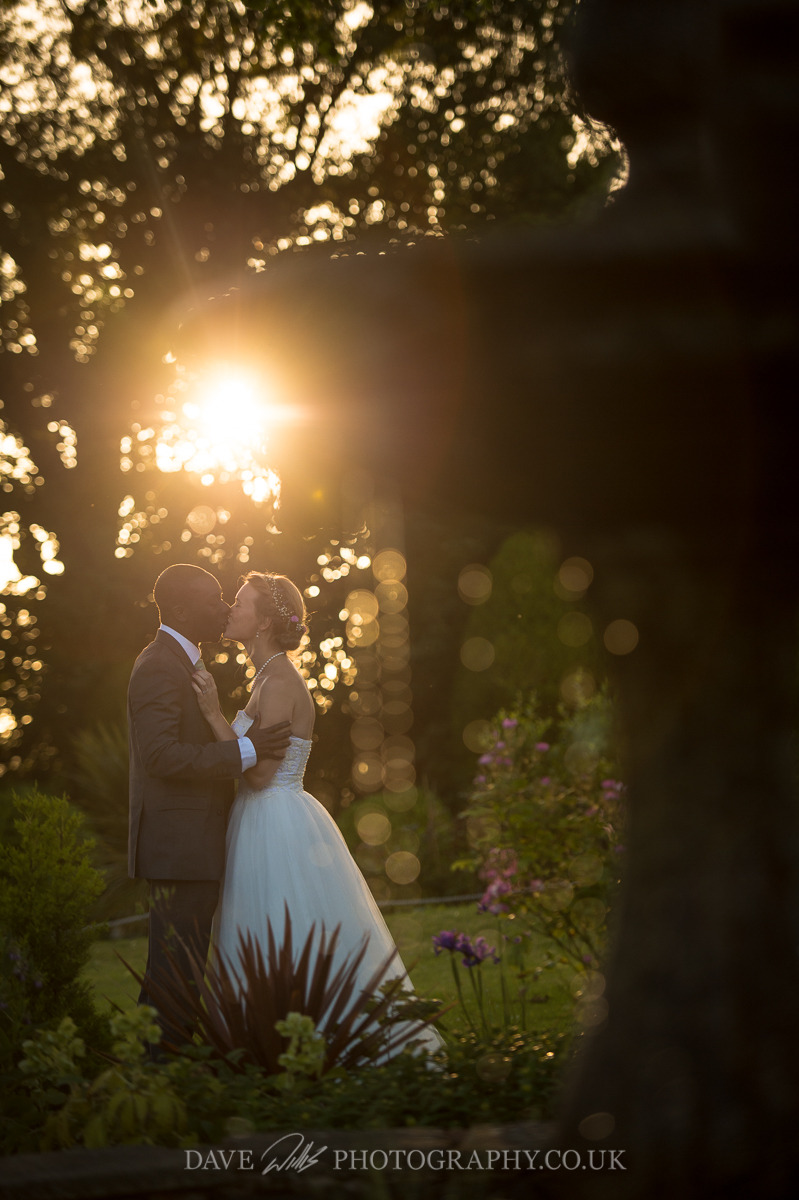
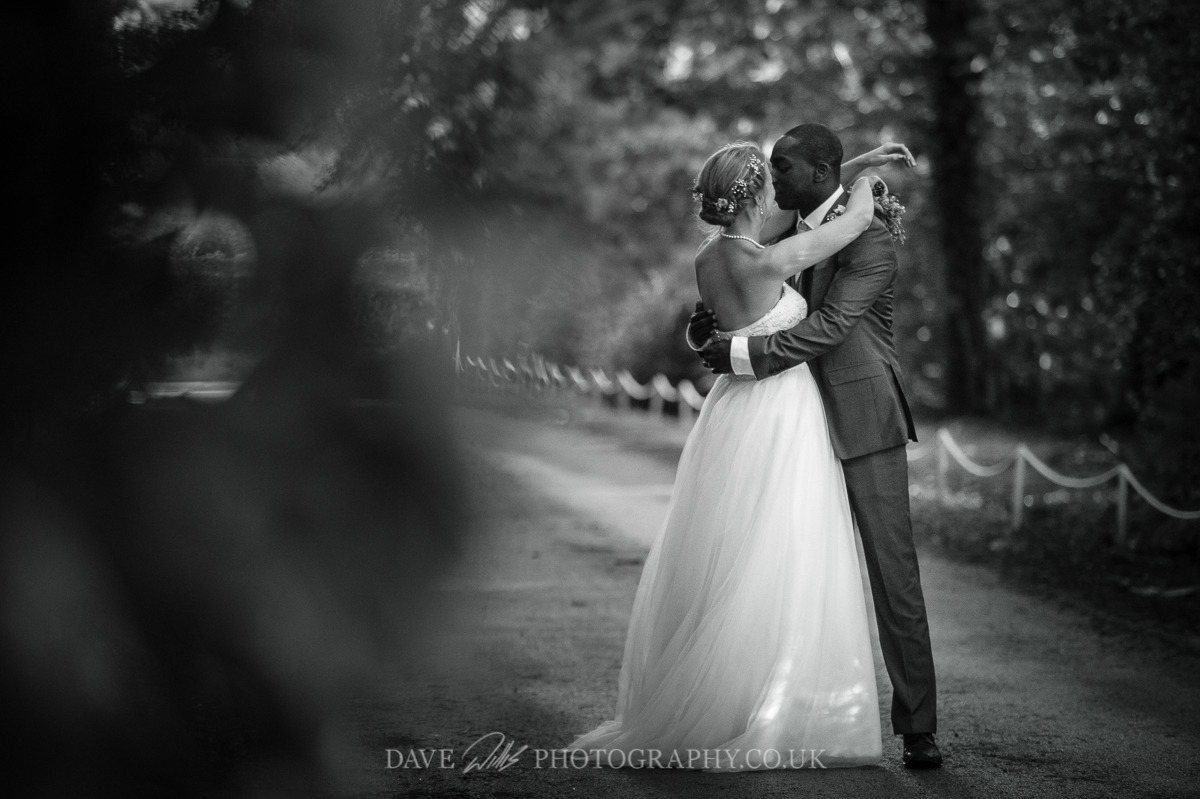
Here are some pictures of it in action on the day!